Have you noticed your plants and herbs looking rather dreadful lately? Have you tried all your tricks to water them back to life, or asked yourself why your healthy plant is all of a sudden dying?
Chances are you haven’t thought of one thing that may be the solution for a fresh revival.
What is that one thing, you ask? Well, the answer is you need to re-pot herbs and plants to keep them healthy.
You probably love being able to use fresh herbs year round for cooking. Like many others, you also probably love having live plants around your home as well.
This post contains affiliate links. If you click through and make a purchase, I may earn a commission, at no additional cost to you!
Some signs that a plant is ready to be repotted are that they are growing out of their own containers. Perhaps their roots are started to get exposed.
You may also notice a slow down in production a bit from your herbs. If you’re noticing these things, it’s probably a perfect time to get them in a larger pot and change out the soil.
Why You Need to Repot
When you read about repotting, it doesn’t always mean changing the actual pot the plant is in. Sometimes the plant is root bound, sometimes the roots become exposed and the plant is growing above the soil.
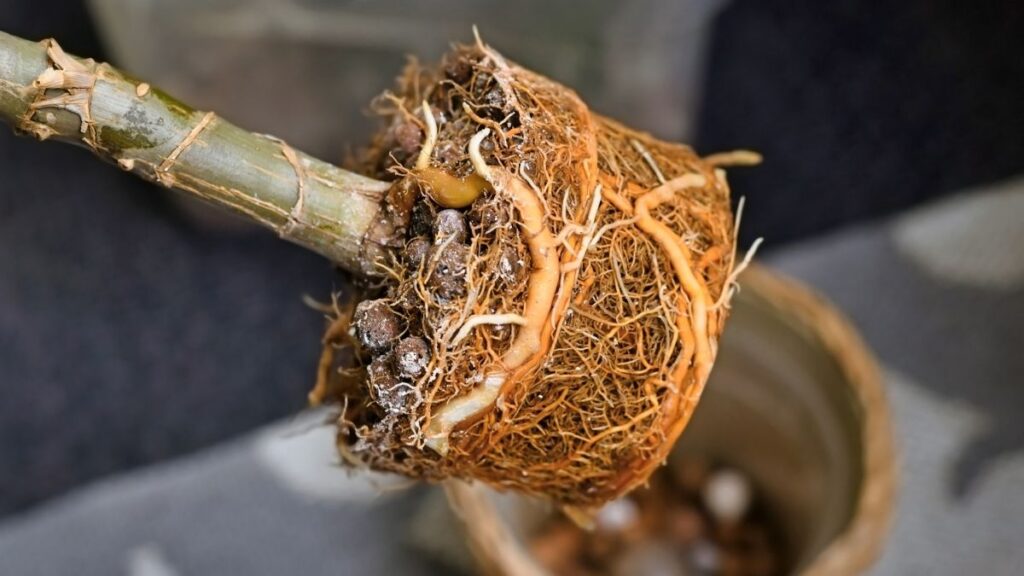
A good way to injure your plants is to expose the roots, so you’ll need to quickly remedy this. A quick re-potting and soil change will help the plant thrive for a few reasons:
- You want to replace the soil to replenish nutrients for the herb to continue to grow.
- To remove excessive, tangled roots. The purpose of this is allow enough soil/nutrients and water to reach the plant. This will also avoid root death by strangulation and rot.
- Allow more growth by removing the excess root to give new growth more room in the pot
- Proactively prevent root rot. If the entire base of the plant becomes one large knot of roots, it will eventually rot and the plant will die.
How to Re-pot Herbs and Plants
First, you want to gently remove the existing plant from it’s pot and place the pot aside. Then, you should gently shake off excess soil. If there is a noticeably large, or excessive root where you can see more root than soil, you will want to remove it.
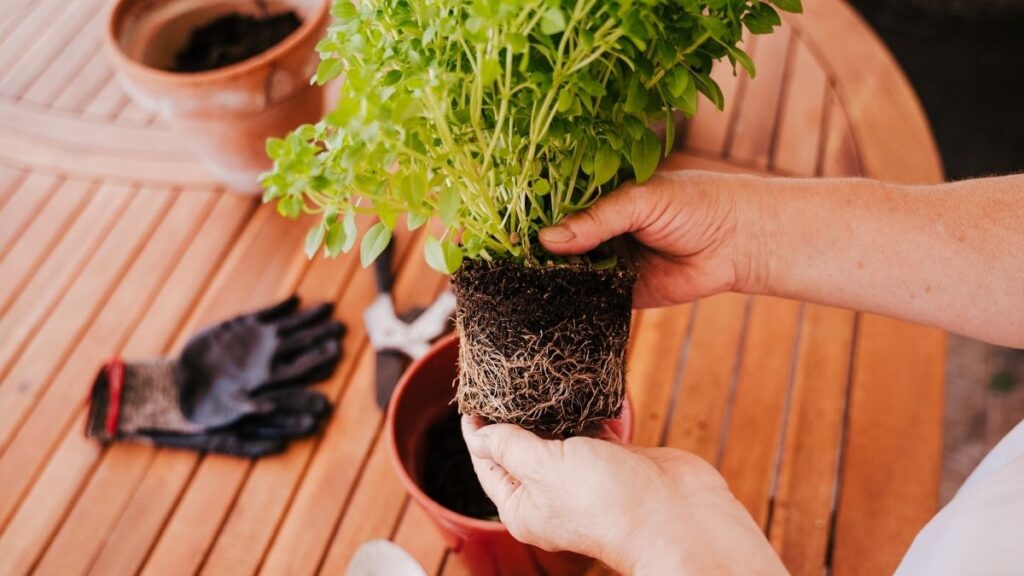
You can do so by gently tugging the outer layers first. You’ll want to loosen up the root ball at the base. You’ll notice they come off easily as they are no longer active roots and attached to the base of the plant. This should significantly cut down on the size of the root ball.
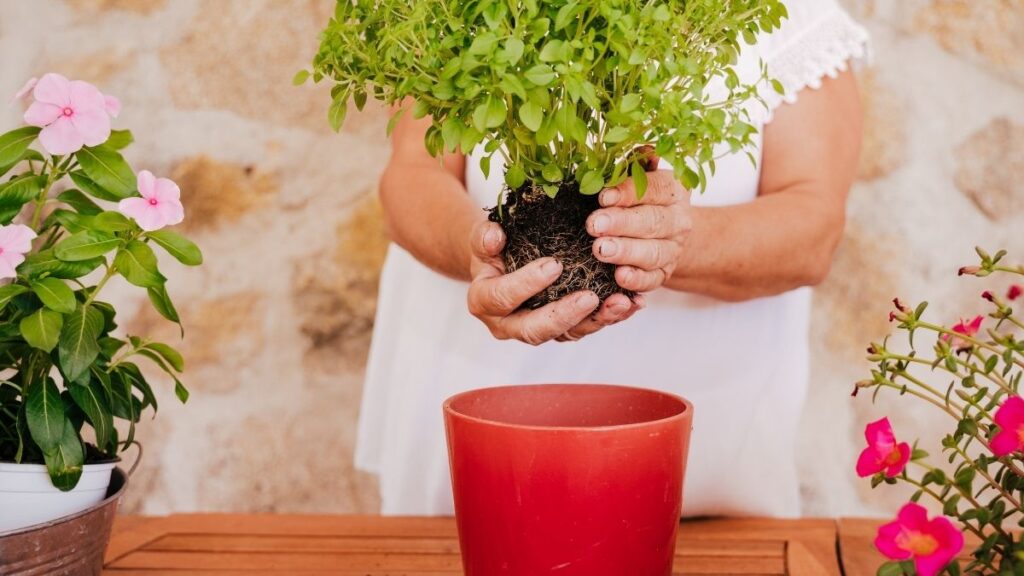
Next, you will need to remove any excess soil in the pot. I recommend thoroughly cleaning and disinfecting the pot before replanting anything into it, or just using a new, clean pot. If there were any undetected diseases, you don’t want to bring them with you to the new soil.
After adding a layer of soil to the new pot, you can then place the herb back into the pot and cover the roots with soil.
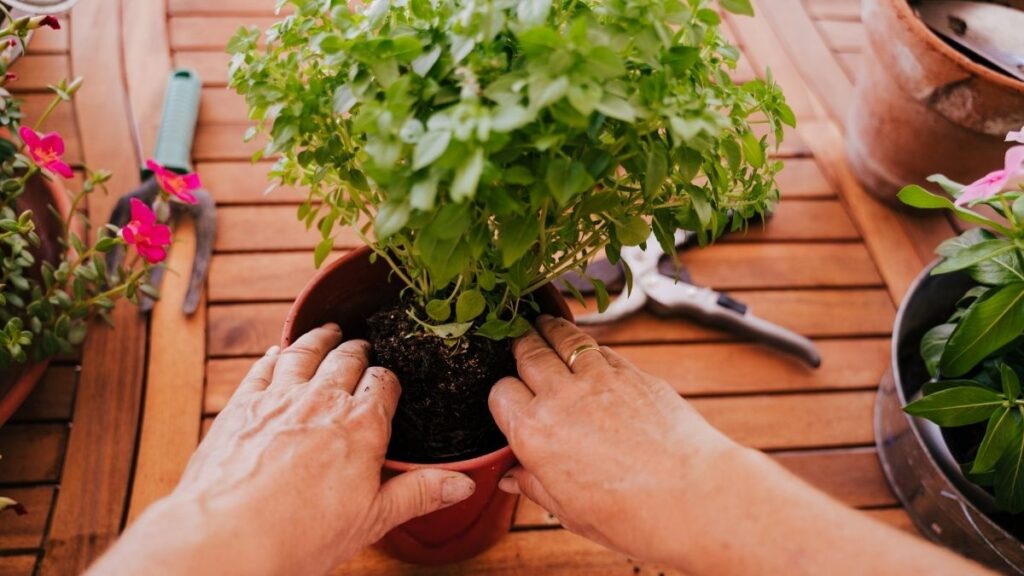
After you’ve added the last bit of soil, you will need to water the plant thoroughly. Once you see a little bit of growth again, you’ll know the plant has adjusted to its new home and you can perform any needed pruning or trimming. It’s always a good idea to wait between repotting and any trim as to not shock the plant too much!
No-Soil Potted Plant Options
You may be thinking that you are tired of having the re-pot your plants. It’s gotten too messy, and you don’t have the time. Maybe high maintenance and delicate herbs aren’t your thing. But you still find yourself growing them.
Perhaps it’s time to move into a no-soil option and leave the whole bag of dirt behind!
Option 1: Click & Grow Hydroponic Indoor Herb Garden
The Click and Grow is a great option, especially if you’re new to indoor herb gardens or hydroponic gardening. This is an amazing system because all you need to do is add water and keep an eye on the levels. If you forget or simply never remember to add more water, don’t fret, it has a built in alarm to let you know if the water levels dip too low!
Option 2: AeroGarden Bounty System
The AeroGarden Bounty System is a wonderful option, and has been a best seller on Amazon for quite some time. It truly has all the bells and whistles you need for an effortless indoor herb garden.

Little will be required of you, I promise, but you’ll be able to enjoy all the benefits! This system includes the LED grow light, a reminder for when to add water and plant food and will automatically turn lights on and off. I’ve had an AeroGarden since the company first started in 2006 and I have purchased many as gifts and for myself in the years since. I have 3 systems running right now out in my greenhouse!
Option 3: LeGrow Self-Watering Indoor Planter
I love this stunning, decorative but useful self watering indoor planter. Not only is it nice to look at, but it also allows you to build and customize your own system! This planter is a great option for a self water system that you can use for a variety of herbs and microgreens. This system includes 6 self-watering pots with ventilation, a grow lamp, humidifier and charging hub with 4 USB ports.
Whatever you choose, give your plants the best chance of survival. Remember to water them, aerate the soil from time to time. And of course, repot and change the soil every so often.
More Articles You’ll Love:

