Did you know that it is super easy to learn how to make pickles at home? Not only will you experience a fresher, crunchier, healthier pickle, but you’ll save tons of money too!
Pickles were one of those condiments that I never thought could be ‘improved’ by making myself. A pickle is a pickle, right? NOPE. After seasons of making my own and then trying store bought, I will never buy them off the shelf again. Same goes for pickled banana peppers!
There are two different ways your can make your own homemade pickles, and we’ll cover them both right here! You can either grow the cucumber yourself, or buy them. Of course, I recommend growing them since they are one of the easiest vegetables to grow and produce a bountiful harvest with even just one or two plants.
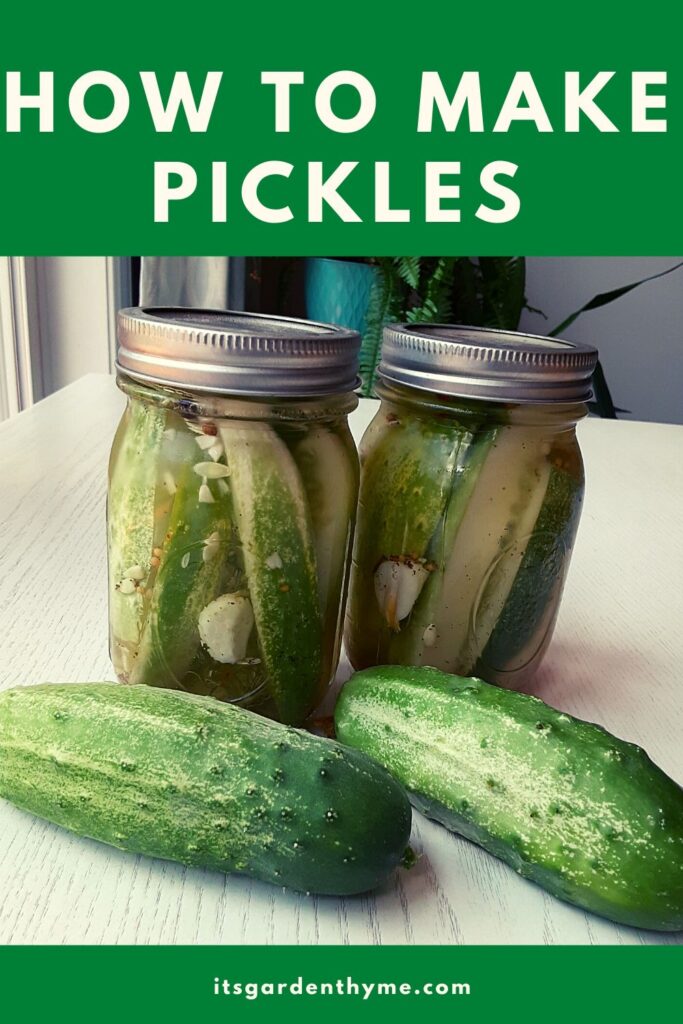
Best Cucumbers for Pickles
If you’re wondering how to grow pickles, then bless your heart. You don’t grow a pickle, you grow a cucumber! Then you turn it into a pickle using a pickling process.
There are certain types of cucumbers that are best for pickling. Read on after the recipe if you want to learn more about growing pickles , er, I mean cucumbers! haha
This post contains affiliate links. If you click through and make a purchase, I’ll earn a commission, at no additional cost to you.
How to Make Pickles
Whether you’ve grown your own, or purchased a bushel of gherkins, here is how to turn them into your favorite salty, briny, savory snack!
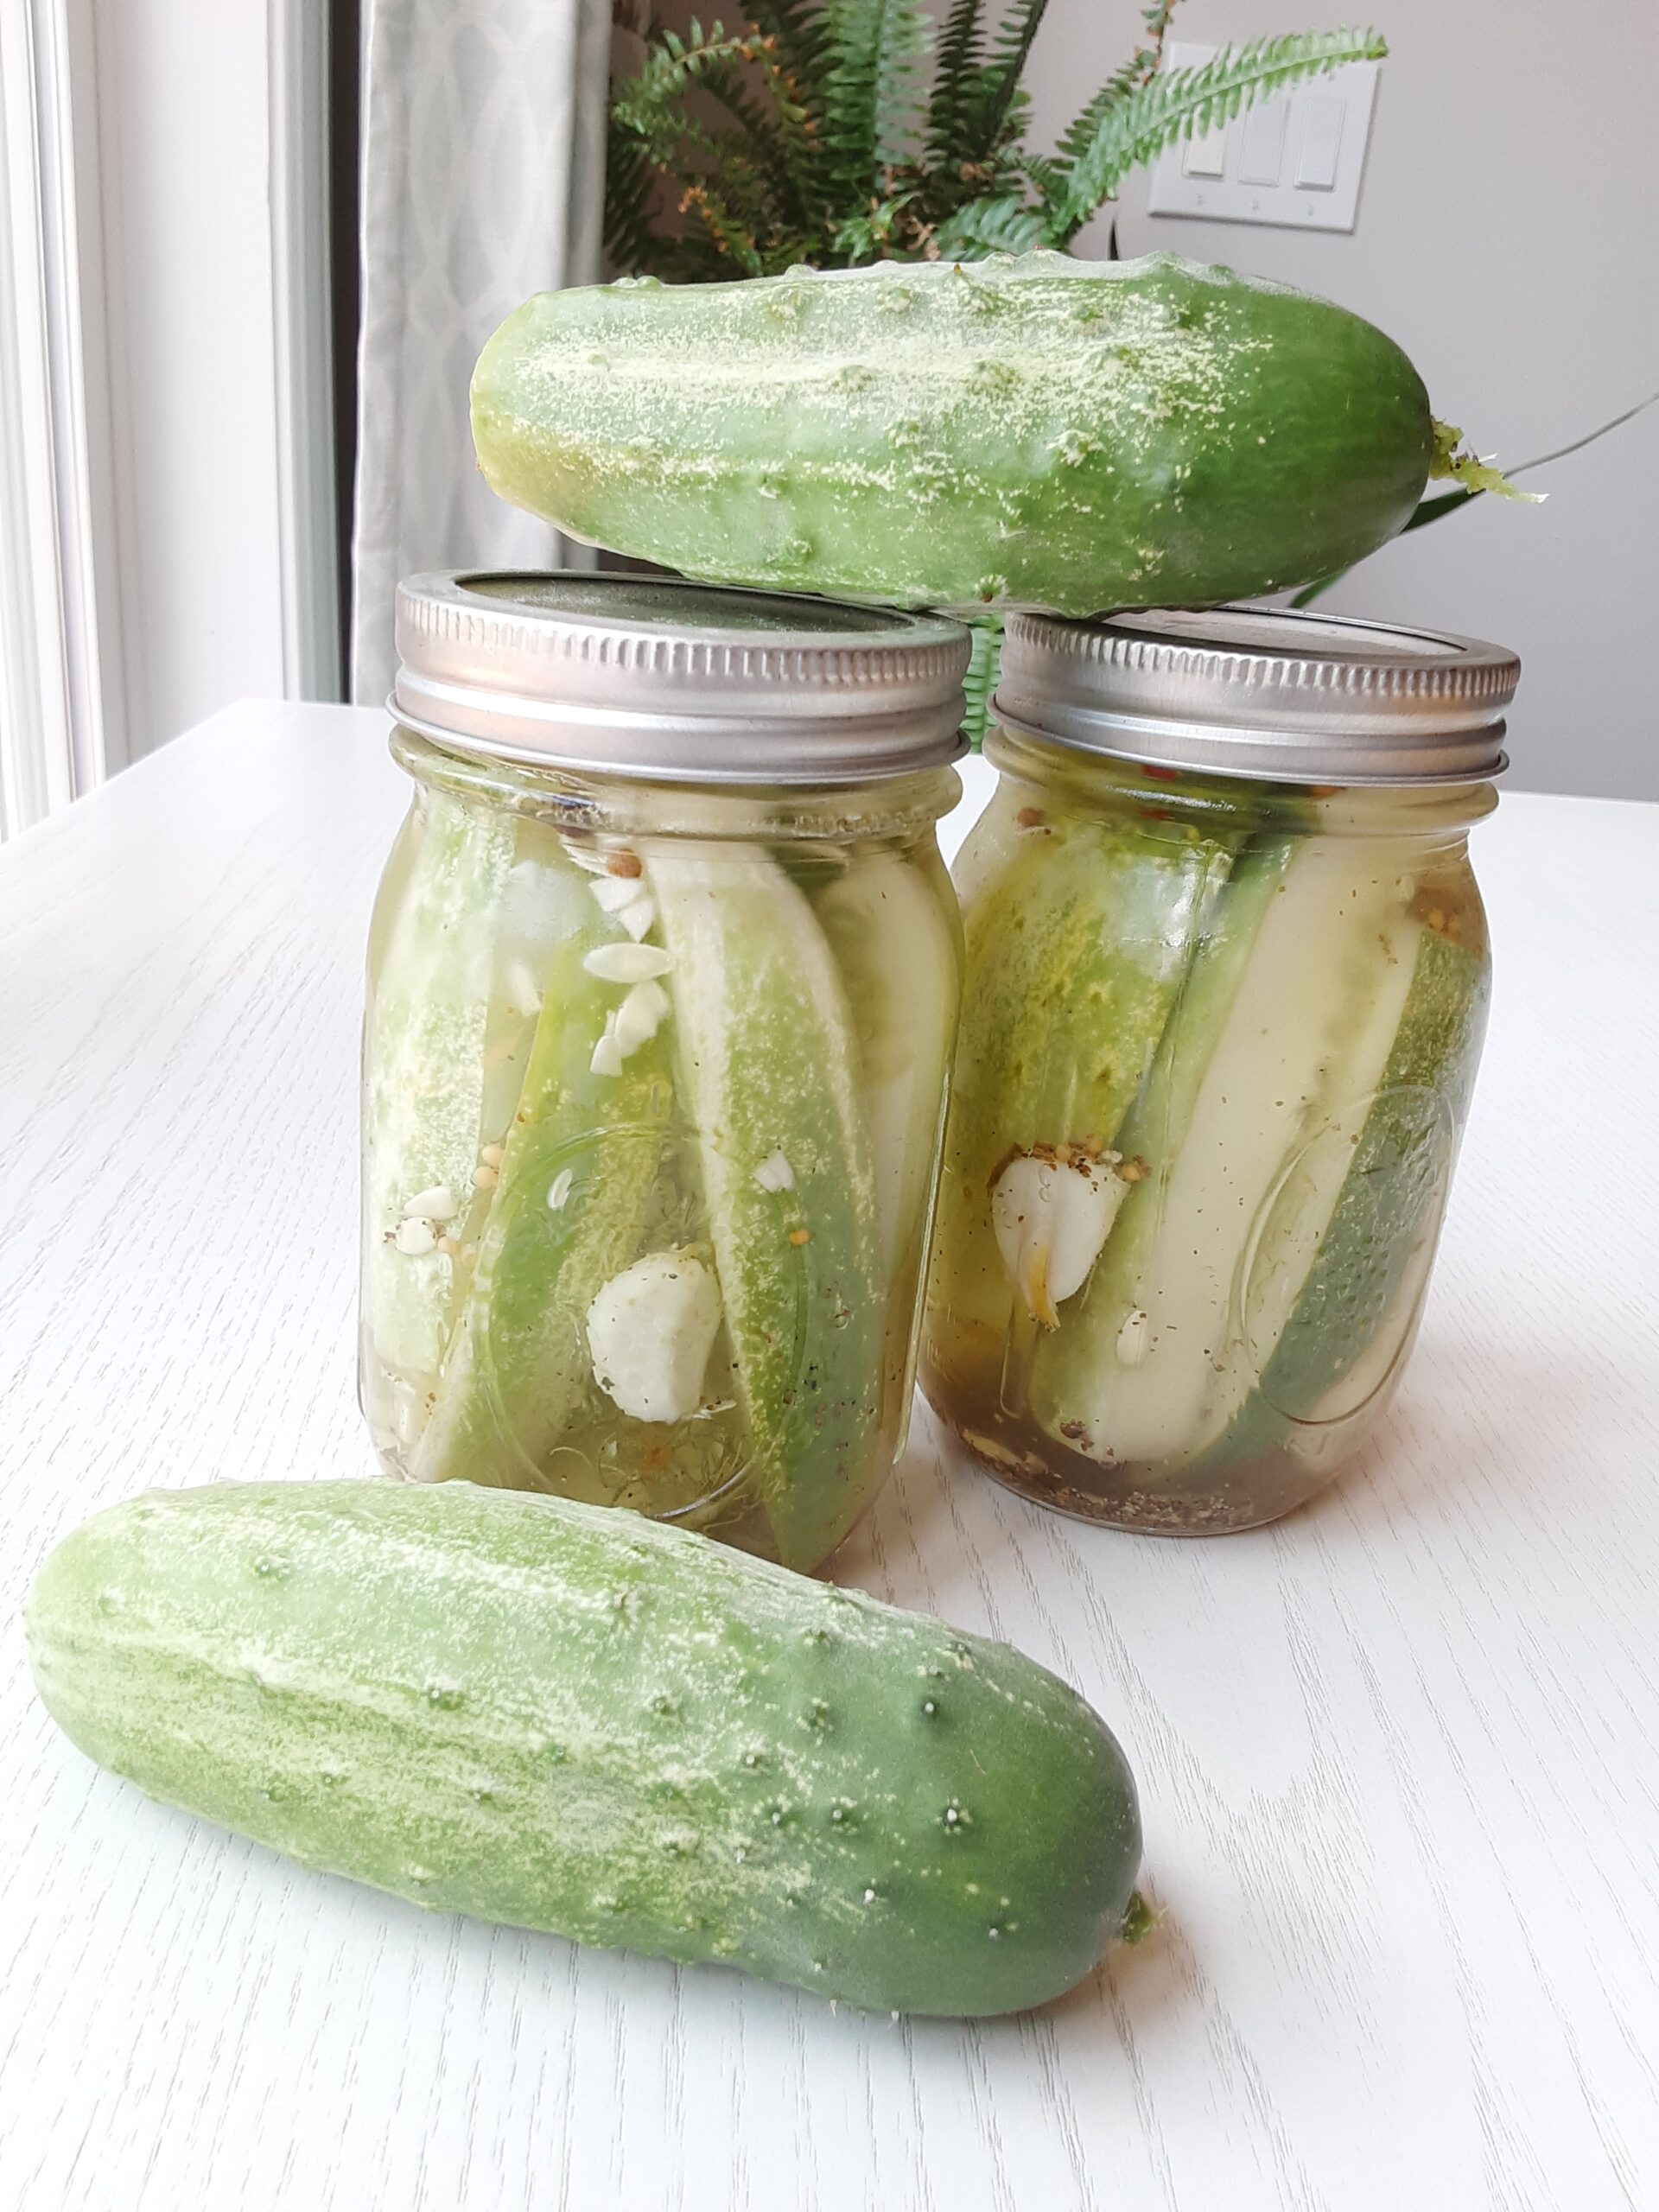
First, wash and trim all produce to remove and remaining debris, dirt, or pesticides if they were used.
Wash and sanitize your canning jars.
On your stove top, bring a quart of water to a boil. Turn off heat and set aside.
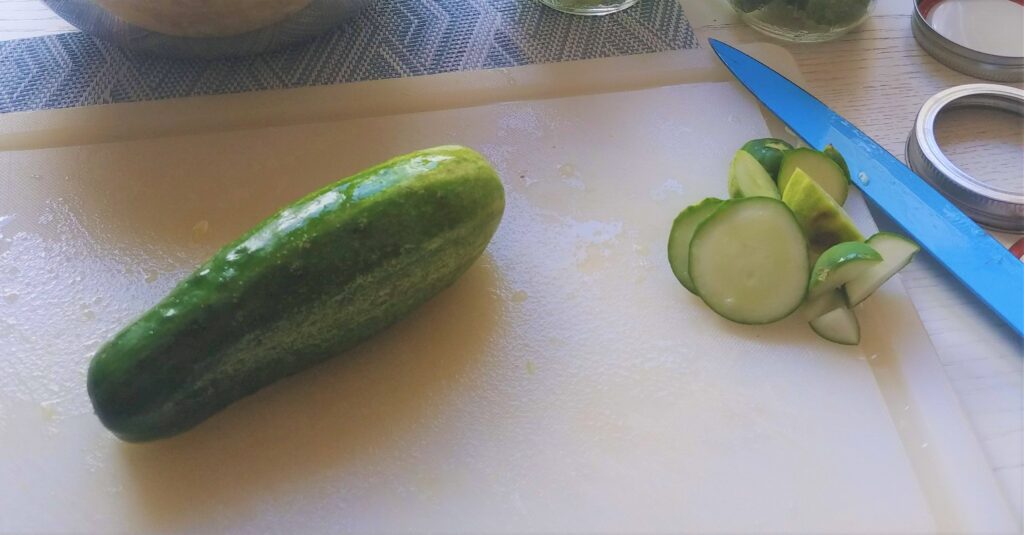
Slice your cucumbers either vertically into quartered spears, or horizontally into quarter inch wide chips.
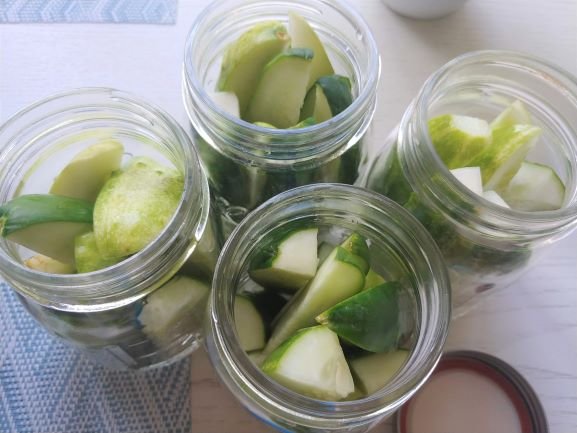
Add all dry ingredients into your canning jars, followed by the cucumbers.
Then, add the wet ingredients. Shake well and refrigerate for at least 48 hours before taste testing.
To adjust and tweak the recipe, feel free to experiment with the flavors you like most. If you want more or less smack of vinegar, add more or less water. Feel free to remove garlic if you’re not a fan!
You can also substitute the fresh herbs and spices with dry. If you like spicy like I do, add in some fresh hot peppers from your vegetable garden too!
The fun thing about learning how to make pickles is that you can adjust and make the recipe your own. You can experiment with different flavors, shapes and sizes. This recipe is delicious for pickling beans too!
Get the baseline recipe down and you’ll be whipping up a new batch every week!
Homemade Dill Pickle Recipe
Homemade Pickle Recipe
Ingredients
- 10 small cucumbers the pickling kind (see below)
- 1 c hot water
- 1 c white vinegar
- 2 tbsp sea salt
- 1 tsp white sugar
- 1 tbsp mustard seeds
- 1 tbsp celery seed
- 2 cloves fresh garlic can substitute garlic powder if needed
- 2 sprigs fresh dill
- 1 tbsp pickling spice
- 1 tsp black pepper
Instructions
- Wash and clean all produce
- Boil water and set aside
- Slice cucumbers according to preference. We like spears the best for snack and chips for burgers! Why not try both?!
- Combine all dry ingredients and split between two pickling or canning jars
- Divide sliced cucumbers between both jars and add on top of the dry ingredients
- Carefully add the hot water to the jar, filling to 3/4 of the way to the top
- Top off with the white vinegar to completely cover the cukes
- Attach lid securely and shake vigorously
- Let cool to room temp and them move them to the refrigerator
- Taste test in 24-48 hours and adjust accordingly.
What type of cucumber do you use for pickling?
There are two types of cucumbers that can be used for pickles: slicing cucumbers and pickling cucumbers. Slicing cucumbers are the ones you eat fresh, like in a salad. Pickling cucumbers are smaller, usually have less seeds and have a tougher skin. They’re bred specifically for pickling.
If you plan on growing them in your garden, you want to select Boston, National Pickling Cucumber, Bush, or Gherkin seeds or plants for pickling. These are the varieties that will provide you with the best results.
These cucumbers have softer skin, but still provide a nice firm crunch. And, they grow to a perfect size that allows them to fit into canning jars!
Growing Cucumbers from Seed
Plan on getting your cucumber seeds planting done in early spring, once the risk of frost has passed.
Once you’ve selected which type, or types of cucumber you’ll grow, you’ll want to get to work on your garden bed.
Pickling cucumbers need full sun and well-drained soil to thrive. If planting into the ground, make sure they receive full sun, at least 6-8 hours a day. They also love to be watered. Water them for at least 20 minutes a day, especially in high heat areas, and remember to water the roots, not the leaves to avoid disease.
Amend your soil with compost before planting to help drainage. Cucumbers don’t like wet feet. If you’re planting in raised beds or containers, make sure to use a soil mix that drains well.
Once your plants are a few inches tall, you can begin training them onto a trellis. This will help keep the vines off the ground and prevent disease.
Training the Vines
Remember, these plants are vines. They will attach to anything and everything around them as they grow long lengthy stems (including each other!). Make sure you are putting them in the ground with at least 1-2 feet in between each plant.
You also want to keep them far enough away from other plants in your garden so they don’t get tangled.
What I do to help the spread is grow them UP! Yes, up! I use trellises and cages to train my cucumbers to climb up the structures.
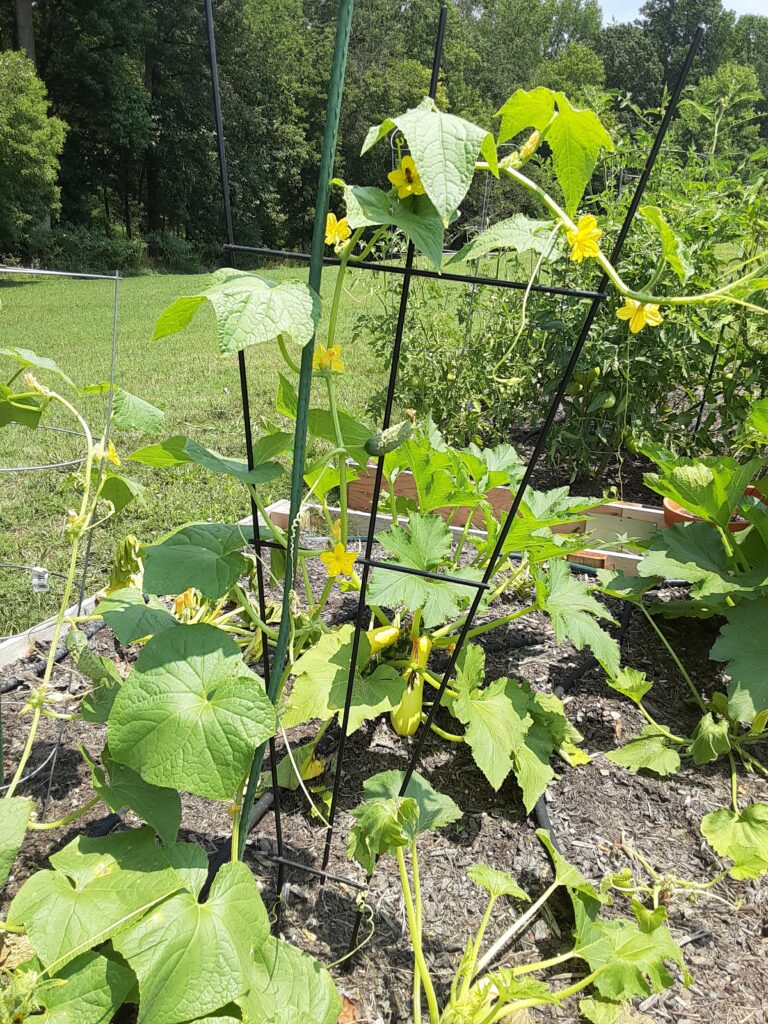
The benefits of creating a vertical vegetable garden and training them to climb up a cage/support structure are:
- You will save space in your garden
- You will avoid tangles
- The veggies will be more easily accessible
- Cucumbers won’t get lost in the foliage, resulting in overgrown veggies
- Better air flow
- Better ability for water to reach roots
To train them and get them to grow on your cages, you want to make sure to visit them at least once a week in the beginning. Once you start to see them flower and vines begin to grow you’ll want to manually lift each vine and place it on whatever you’re using.
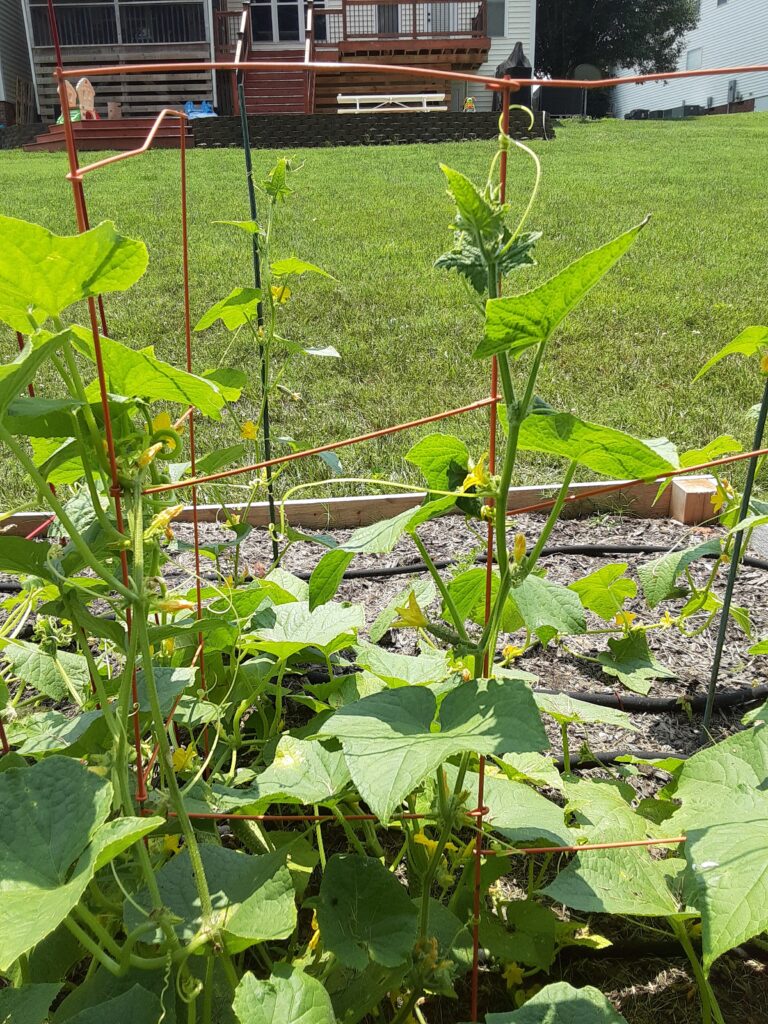
Regularly move the vine up the structure and provide enough room for growth. You may need to add multiple cages or trellises, depending on how many plants you have. I like using these because you can shape them a few different ways to best suit your needs.
If you begin to notice yellow cucumber leaves, you want asses the problem and fix it right away.
If you’re trying companion planting, you can save space and money by planting corn next to your cucumber plants and use them as a natural trellis instead!
When to pick cucumbers
Pickling cucumbers take around 55-65 days to reach maturity from seed. Make sure to check the maturity date on your seed packet before harvesting.
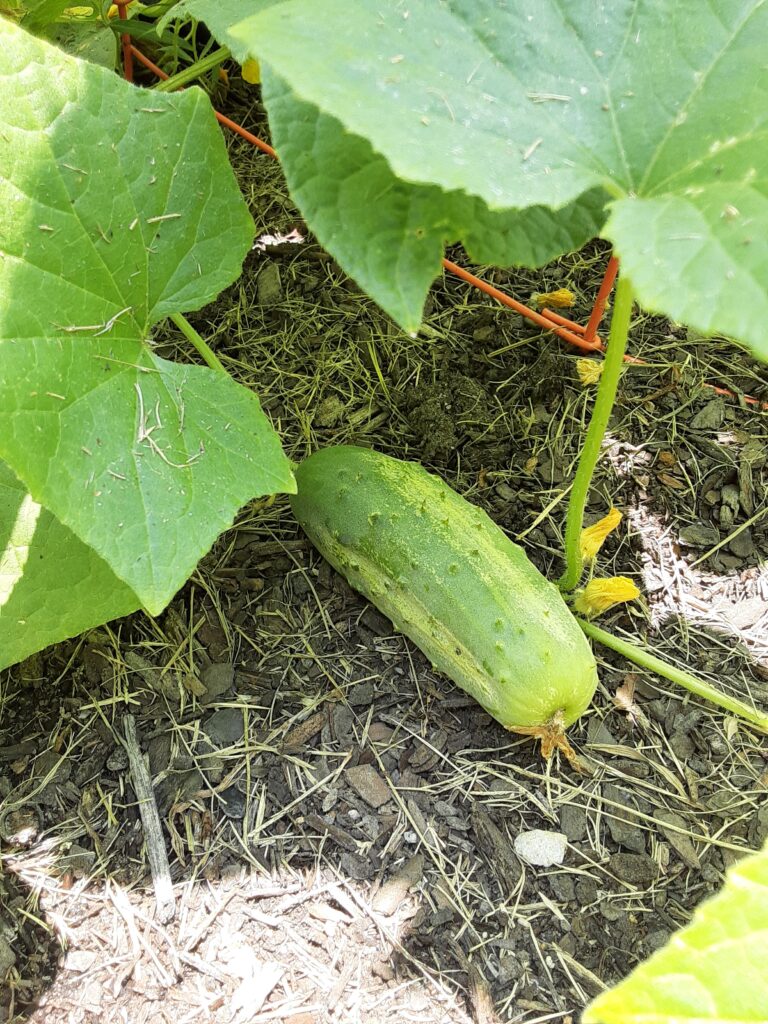
They can get a little bitter if left on the vine too long, so it’s best to pick cucumbers once they reach anywhere from 3-5 inches long, depending what you’re looking to make.
When picking cucumbers for pickling, be careful not to pick any that are overripe or have soft spots. You also don’t want any that are too small, as they may not have developed enough of a pickle flavor yet.
Keep in mind that the more you pick, the more the plant will produce! Cucumbers are one of those plants (like beans), where picking the cucumbers early and often will help to encourage the plant to keep producing longer.
If you’re not going to pickle them right away, you can store them in the fridge for up to 2 weeks.
Once you’ve got your cucumbers picked, it’s time to get pickling!

